· Tutorial · 5 min read
How to Create Diagrams Directly in Claude Code
Learn how to create diagrams directly in Claude Code with AI Diagram Maker MCP, including setup, first prompts, and fast diagram refinement.
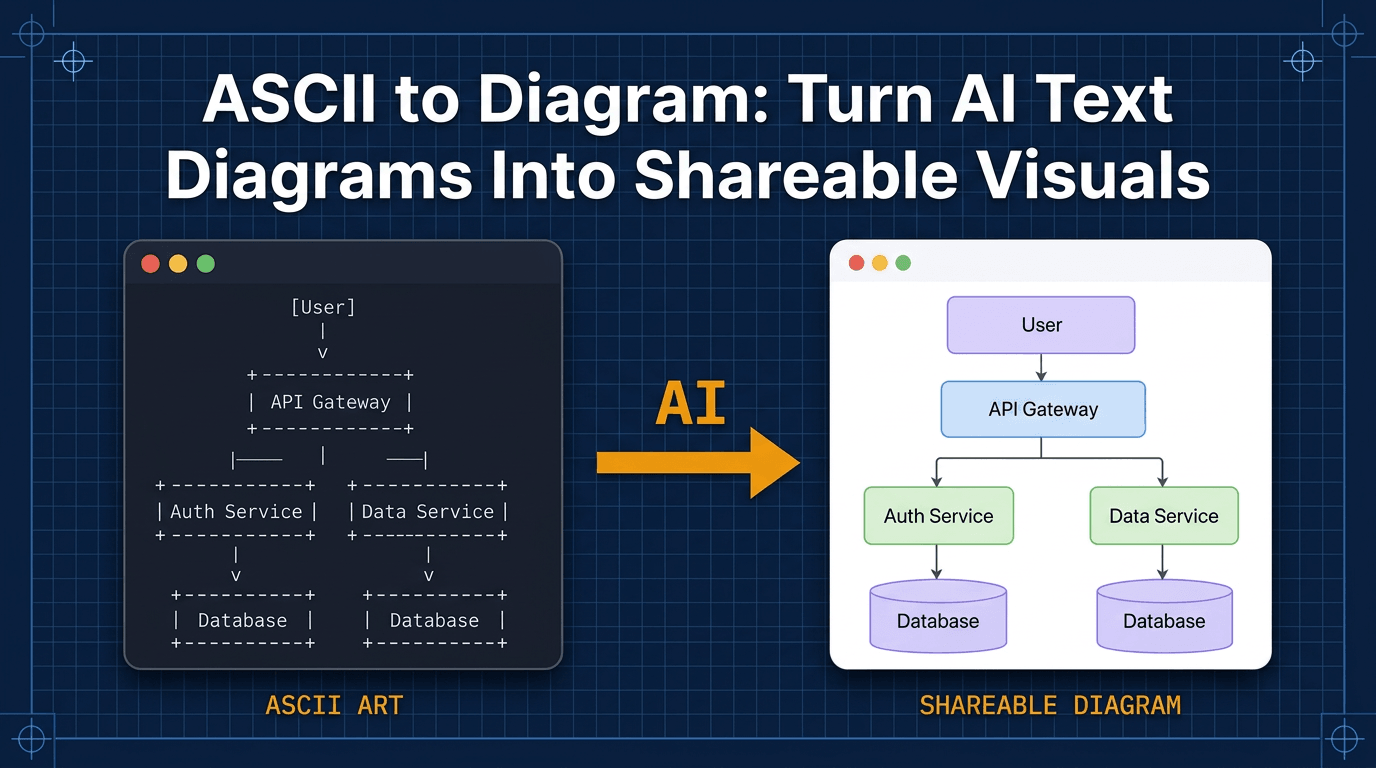
If you have ever finished a great conversation in Claude about a system design idea and then thought, “Now I have to open another tool and draw this by hand,” this guide is for you.
That extra step is where momentum usually disappears. You leave the conversation, open a diagramming app, start dragging boxes around, and spend more time on layout than on the idea itself.
This tutorial shows you a simpler workflow: use AI Diagram Maker MCP so diagrams are generated right inside the same Claude conversation where you are already thinking. Then, if you want, open the result in AI Diagram Maker for the final polish.
Step 1: Understand what MCP is doing
Before the setup, it helps to know what is happening behind the scenes.
MCP stands for Model Context Protocol. Anthropic describes it as an open standard that lets AI tools connect to external systems and tools. A simple way to think about it is this:
USBgives your computer one standard way to connect to devicesMCPgives AI tools one standard way to connect to external tools
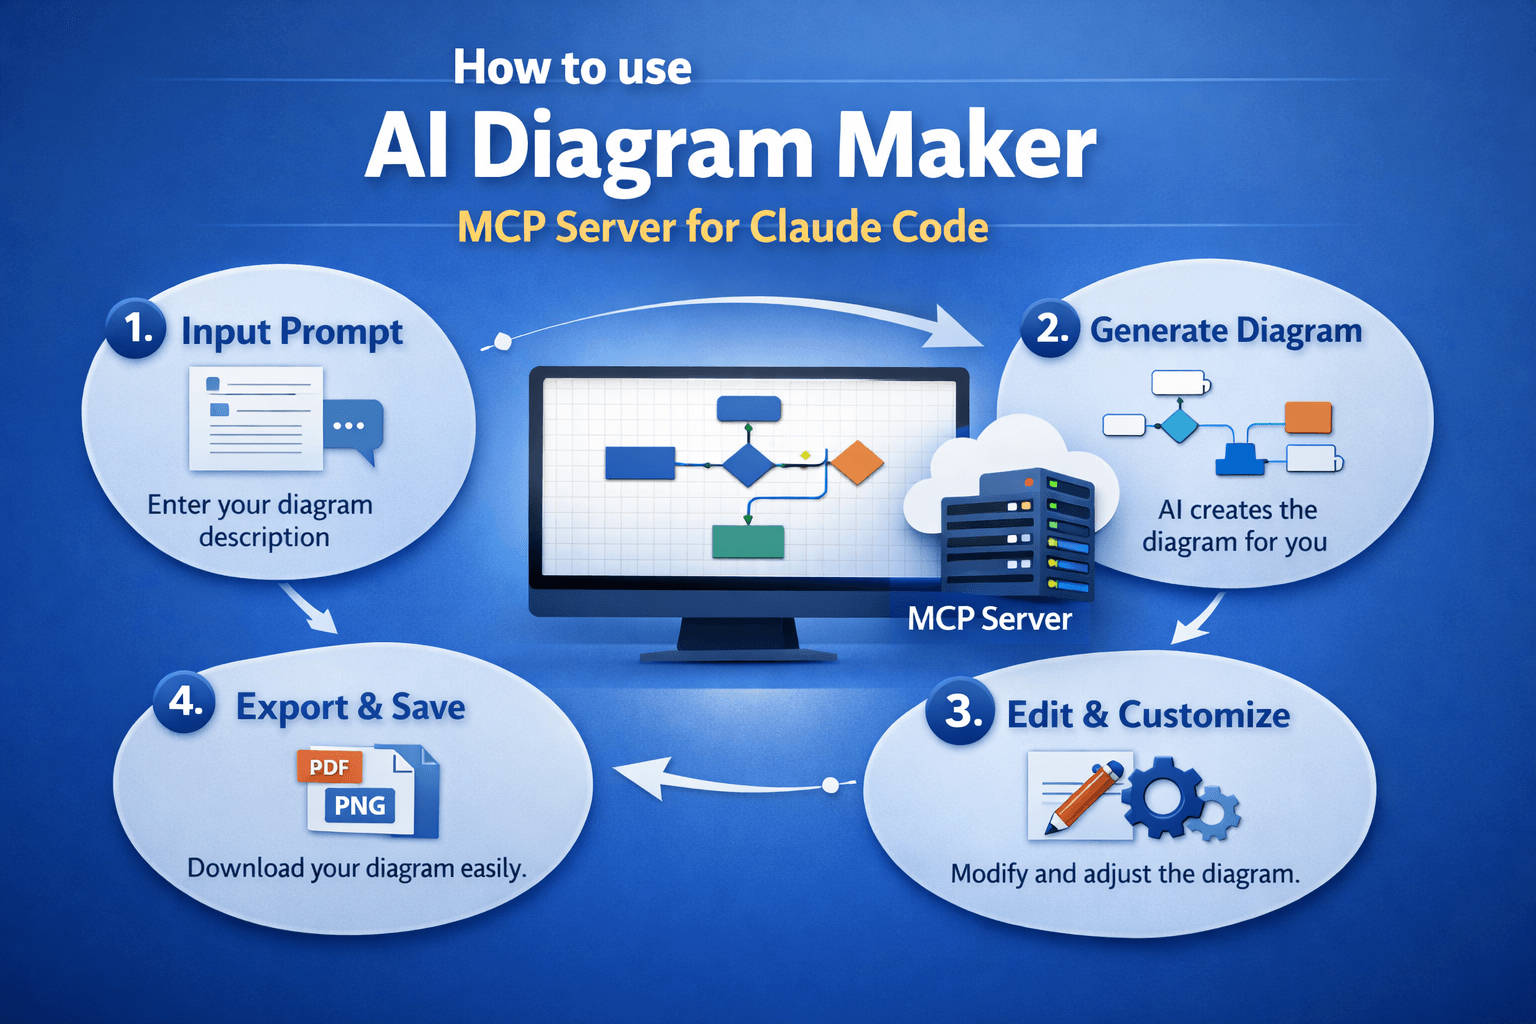
In this case, the external tool is AI Diagram Maker. Once the MCP server is connected, Claude can generate:
- architecture diagrams
- flowcharts
- sequence diagrams
- ER diagrams
- UML-style diagrams
That is what removes the usual copy-paste loop. Instead of describing a diagram in chat and then rebuilding it somewhere else, Claude can call the diagram tool directly.
Step 2: Create your AI Diagram Maker API key
Go to AI Diagram Maker MCP setup and click Get Started. The written docs walk through the same flow if you want to follow along slowly.
Inside AI Diagram Maker, open Settings, go to Integrations -> API Keys, and create a new key. Give it a label like Claude or Claude Code so you can recognize it later.
Copy the key right away. You will use it in the next step, and it will not be shown again after creation.
If you want screenshots for this part, the full API key guide covers it step by step.
Step 3: Connect AI Diagram Maker to Claude
The screenshots below use Claude Desktop because it is easier to show visually, but if you use Claude Code, I included the CLI command as well.
Option A: Claude Desktop
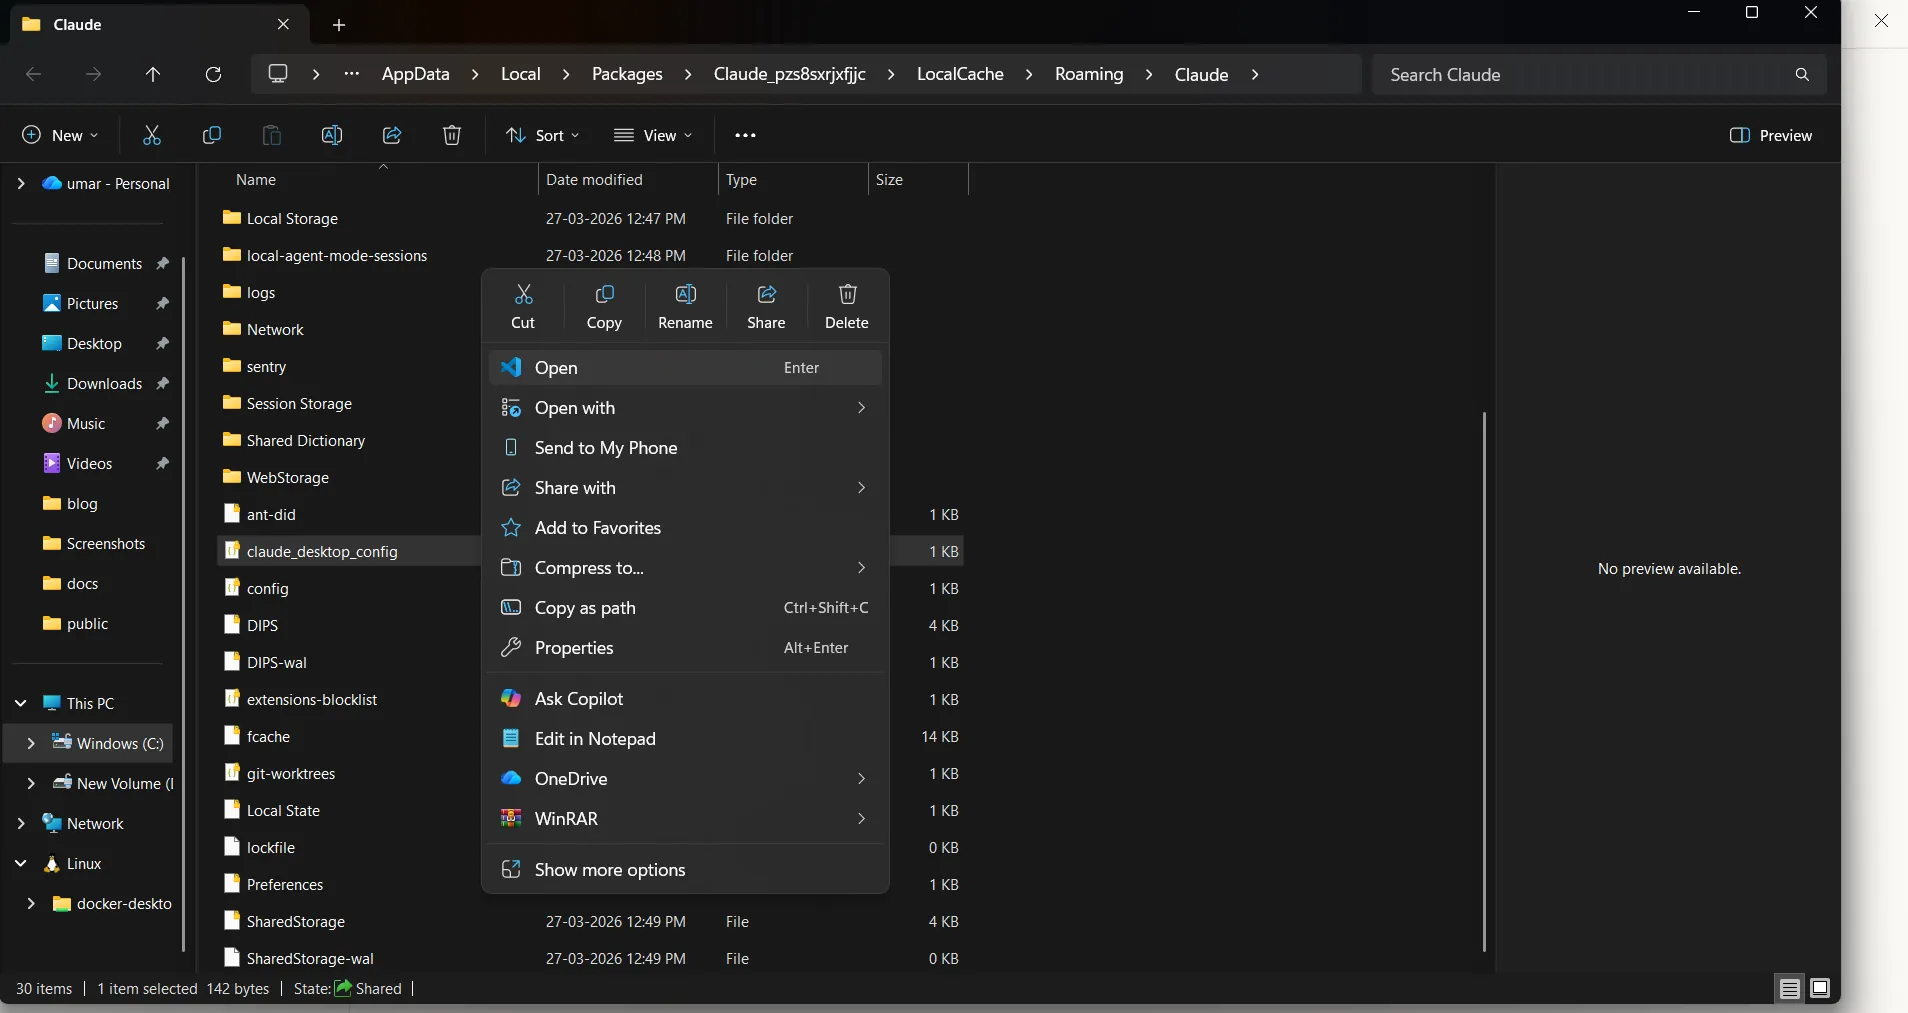
Open Claude Desktop, go to Settings, then open the Developer section.
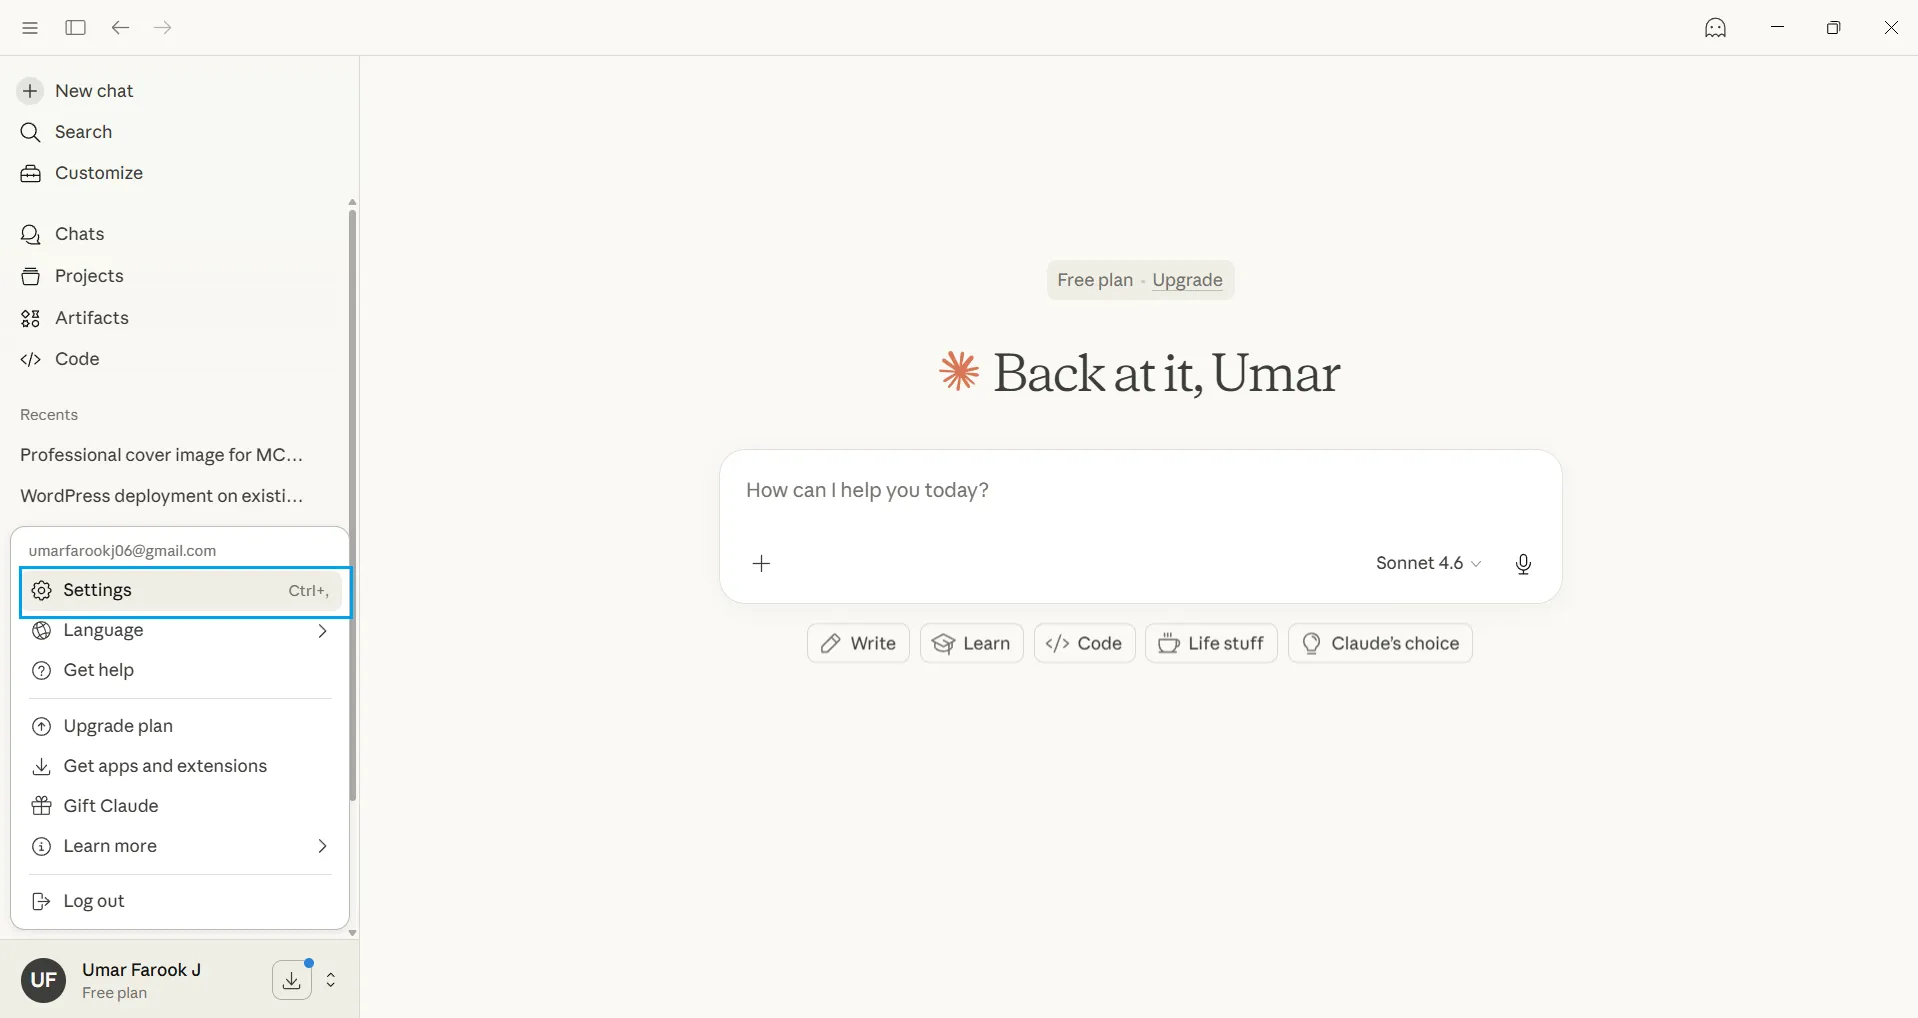
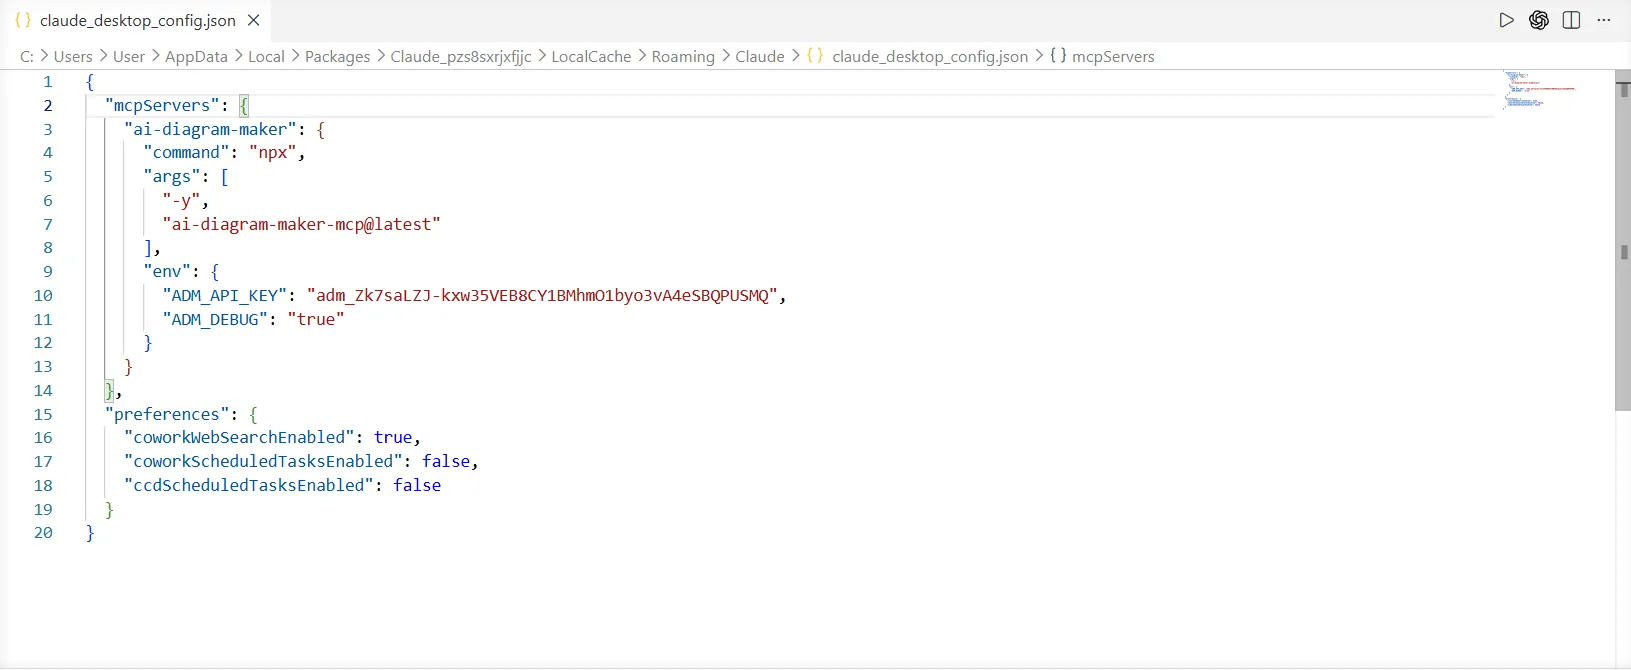
Click Edit config. Claude will show you the path to claude_desktop_config.json.
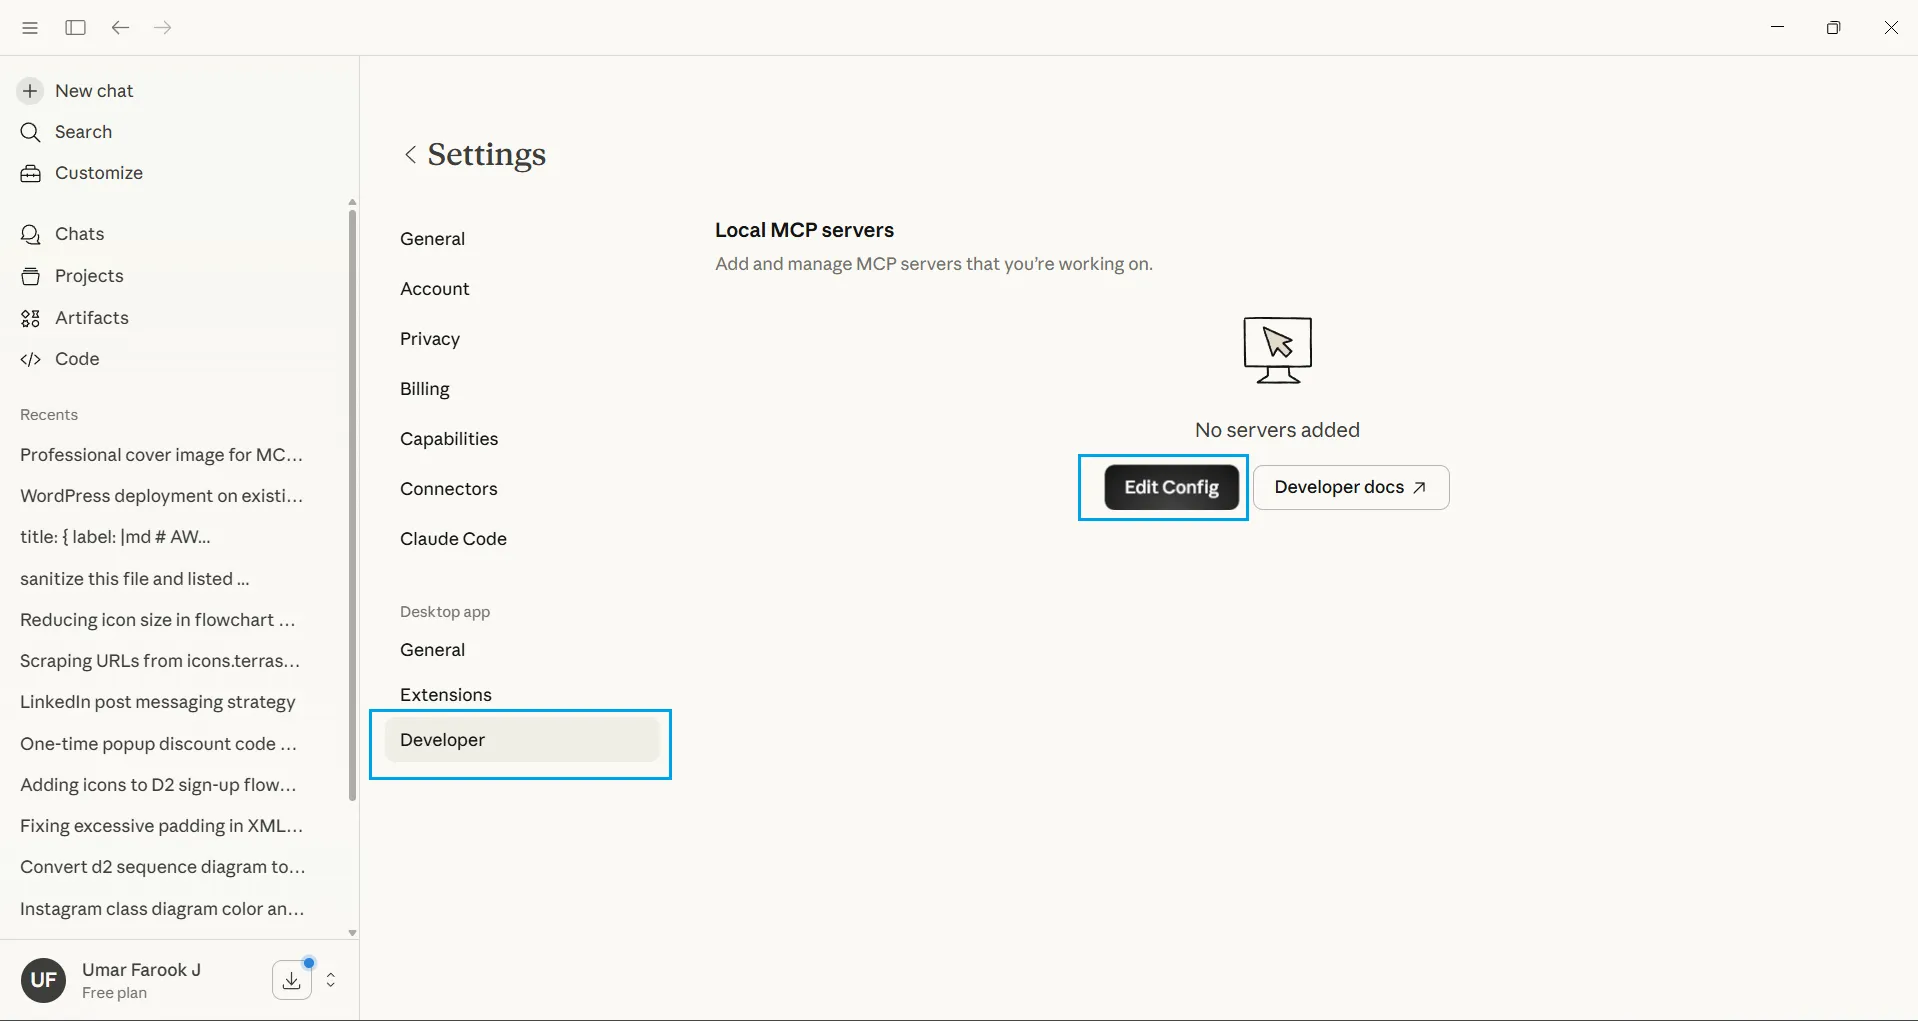
Open that file in any text editor and paste the MCP config from the docs. Replace <your api key> with the API key you just created.
{
  "mcpServers": {
    "ai-diagram-maker": {
      "url": "https://mcp.aidiagrammaker.com/mcp",
      "headers": {
        "X-ADM-API-Key": "<your api key>"
      }
    }
  }
}
Save the file, then restart Claude Desktop.
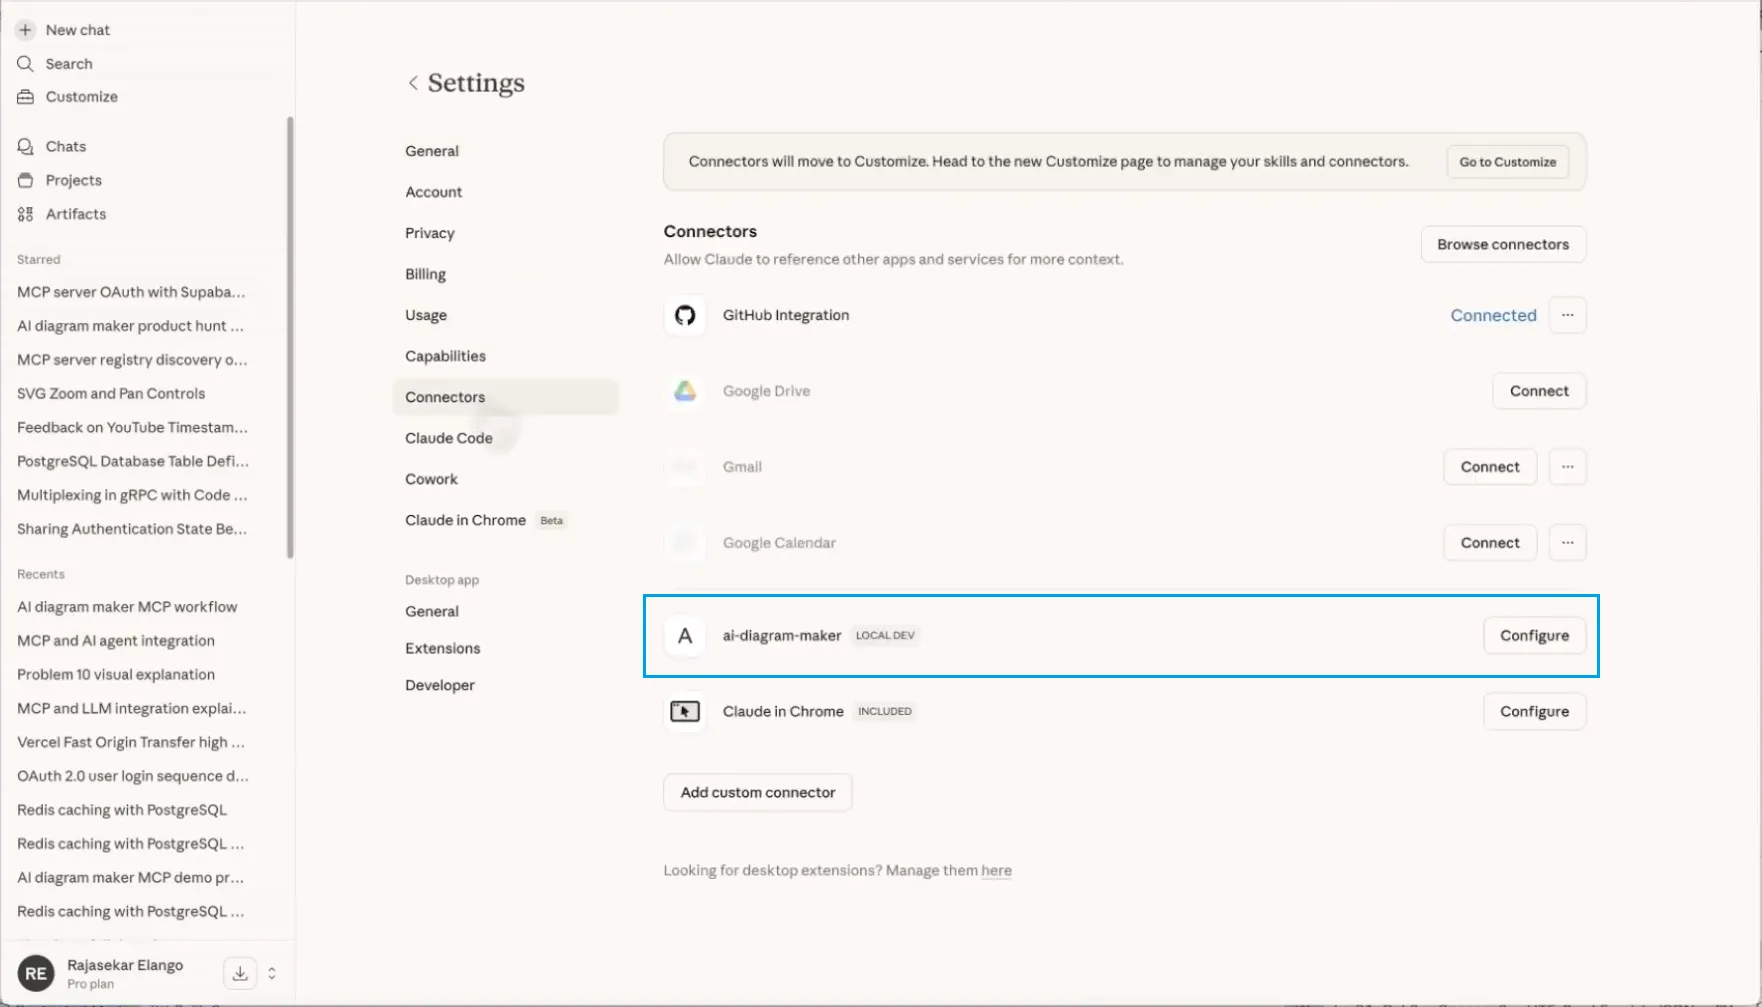
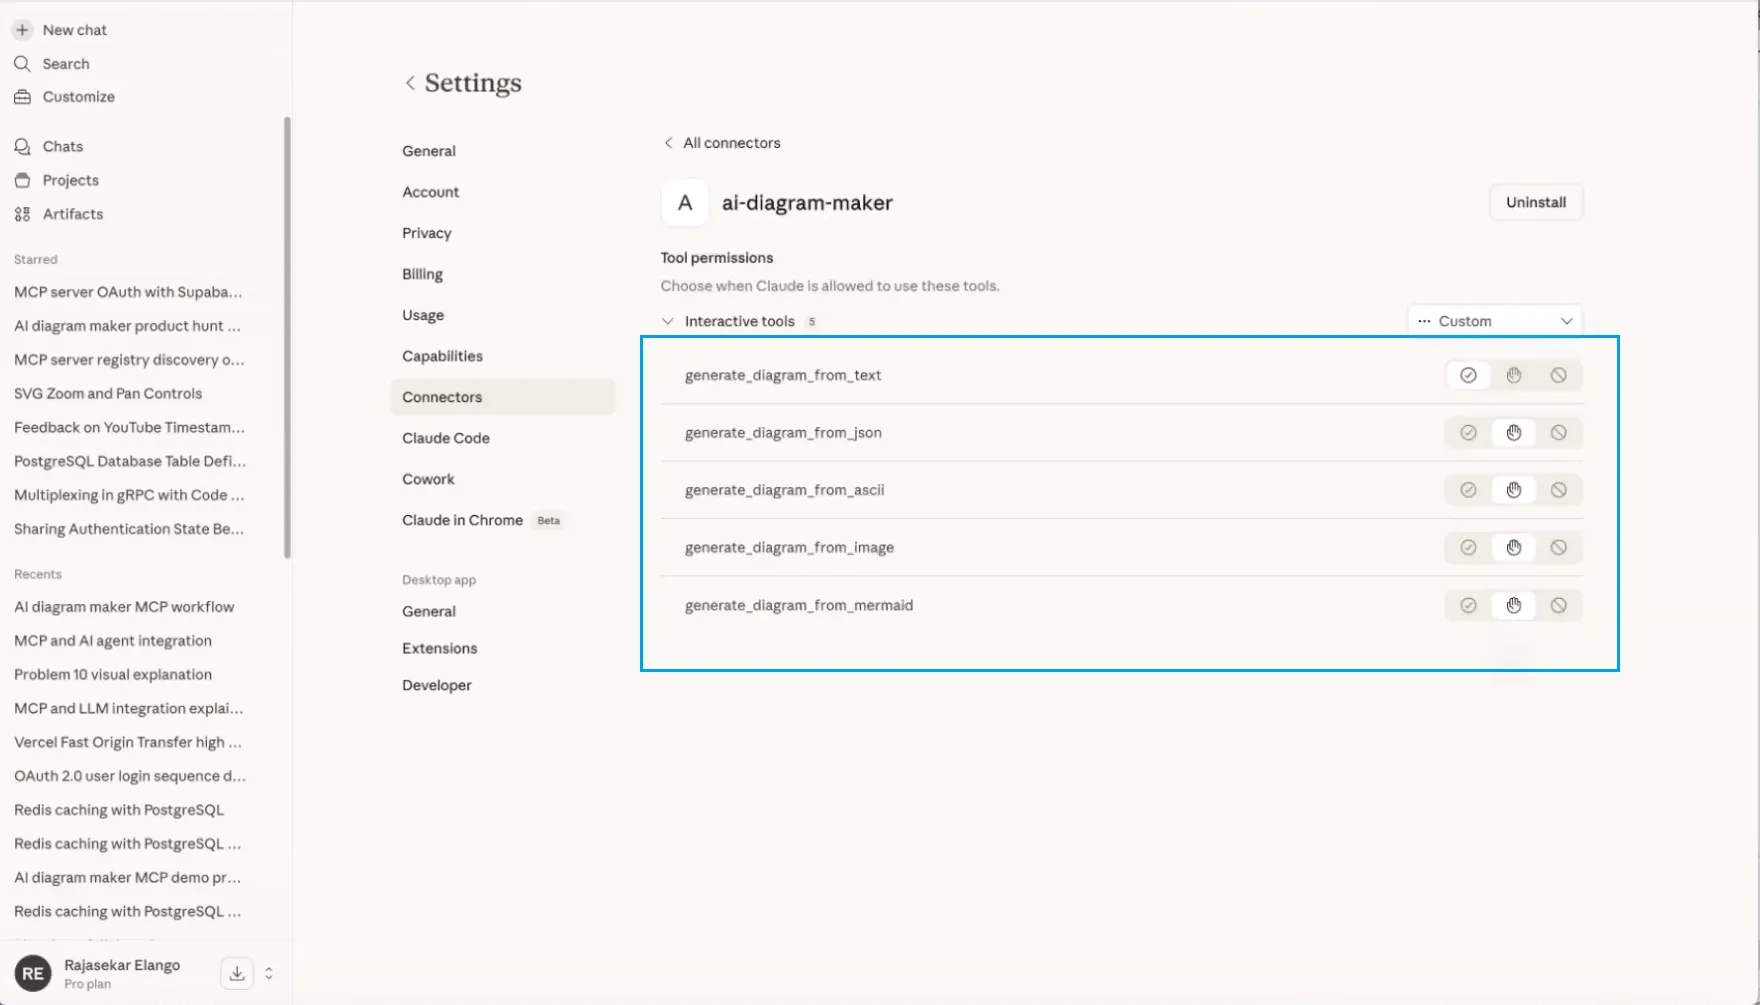
After restart, open the connectors list and confirm that AI Diagram Maker appears there. If you expand it, you should see tools like generate_diagram_from_text.
Option B: Claude Code
If you use Claude Code, run this command and replace <api_key> with your real key:
claude mcp add ai-diagram-maker -t stdio -e ADM_API_KEY=<api_key> -- npx -y ai-diagram-maker-mcp@latestThat adds the AI Diagram Maker MCP server to Claude Code and makes the diagram tools available in chat.
Step 4: Generate your first diagram
Start with a simple prompt that is easy to verify. A good first example is an OAuth login flow because it is familiar and visually useful.
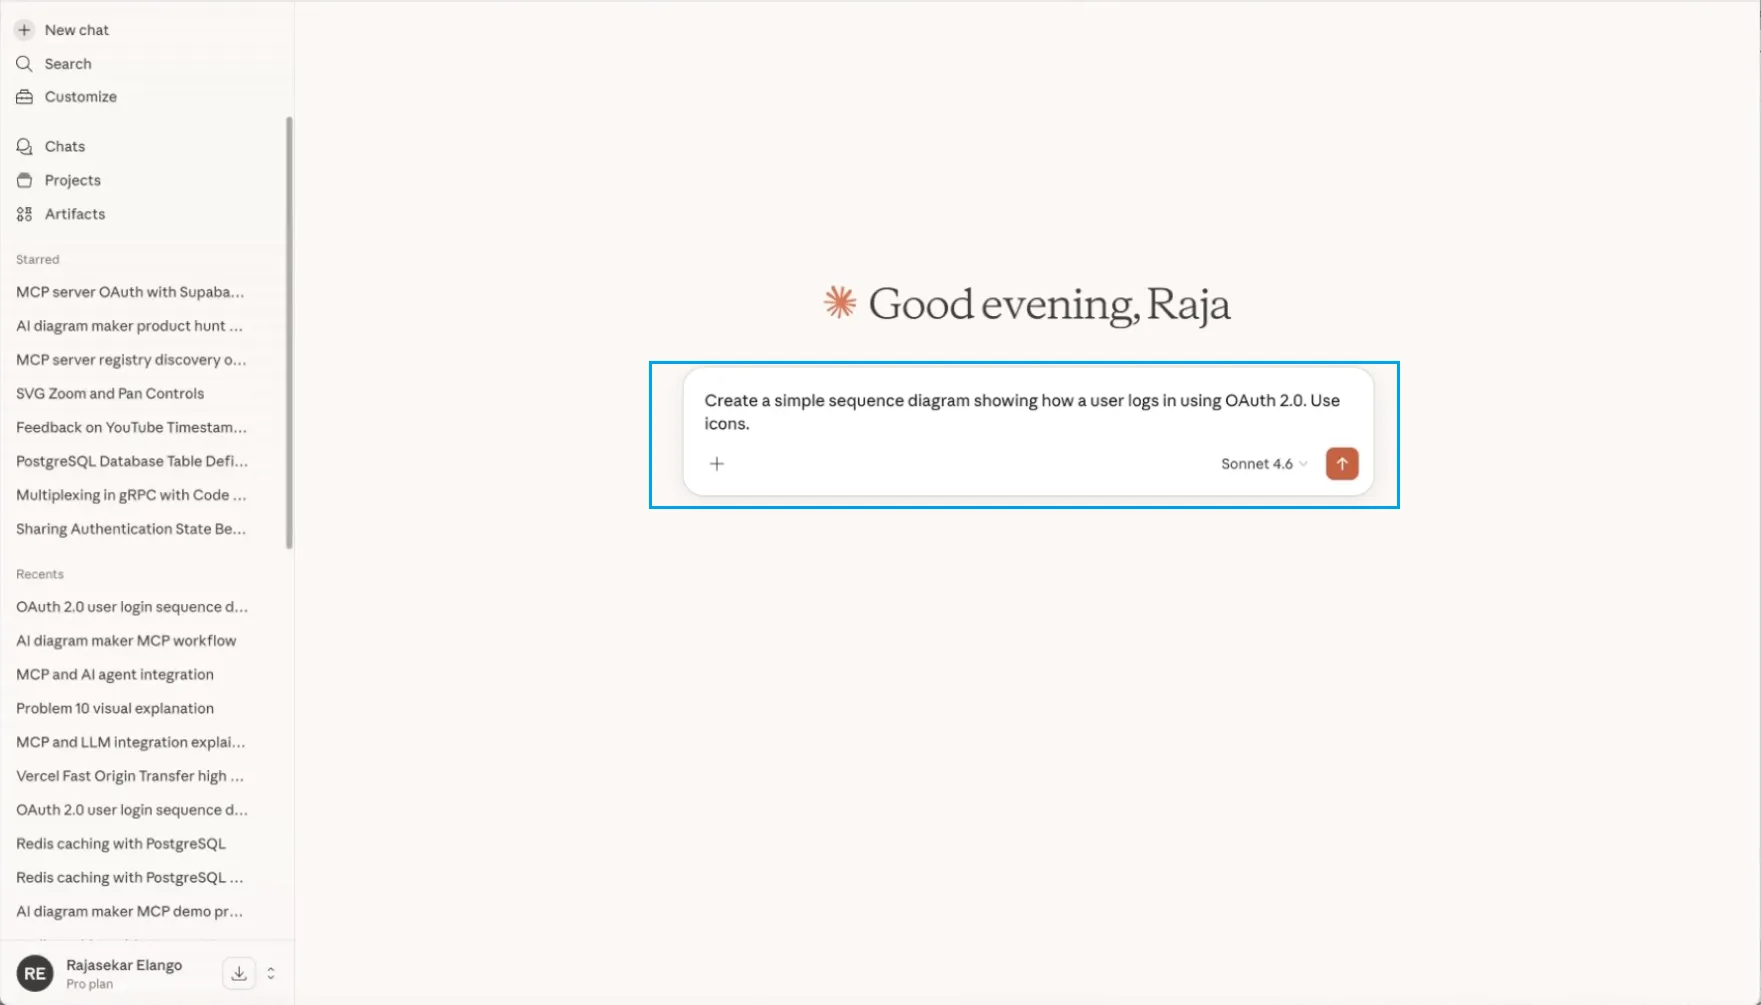
Try a prompt like this:
Create a sequence diagram showing how a user logs in using OAuth. Use icons.
The use icons part is helpful because it nudges the output toward a more polished diagram.
Claude will recognize that it can use the MCP tool, call AI Diagram Maker, and generate the diagram inside the conversation.
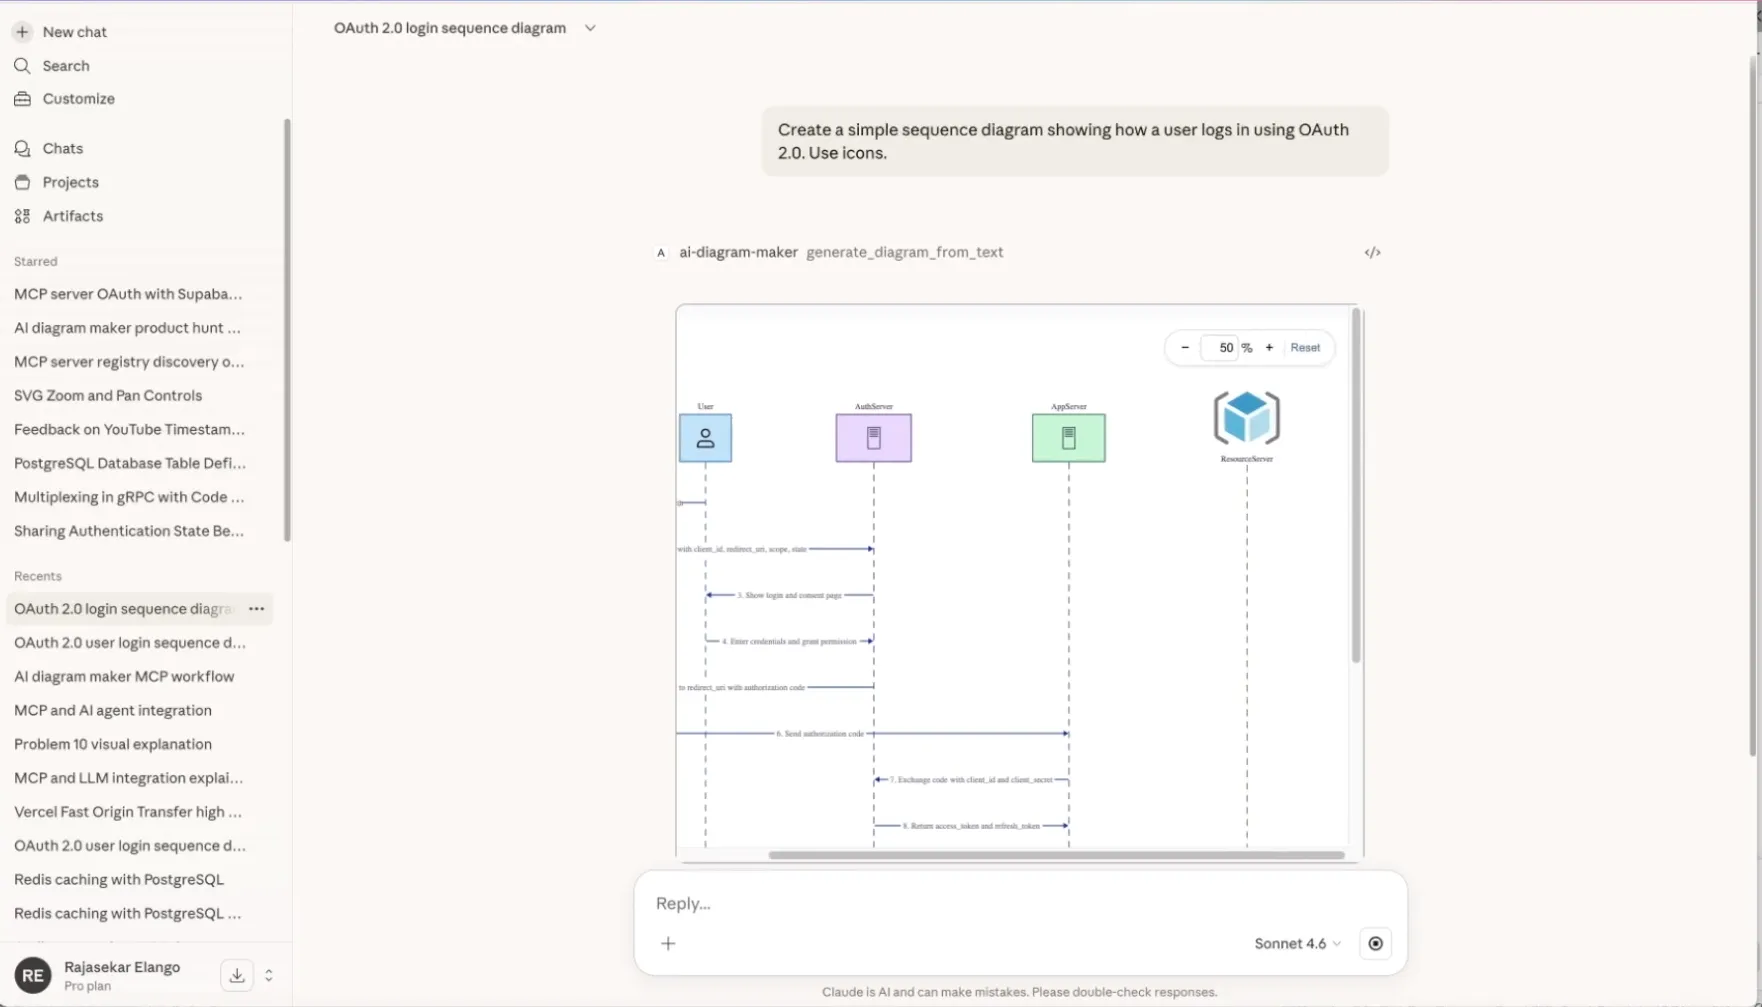
This is the point of the workflow: no switching apps, no redrawing the same idea, and no manual layout work just to get a clean first draft.
Step 5: Open the diagram in AI Diagram Maker and refine it
After the diagram is generated, Claude gives you a direct link to open it in AI Diagram Maker.
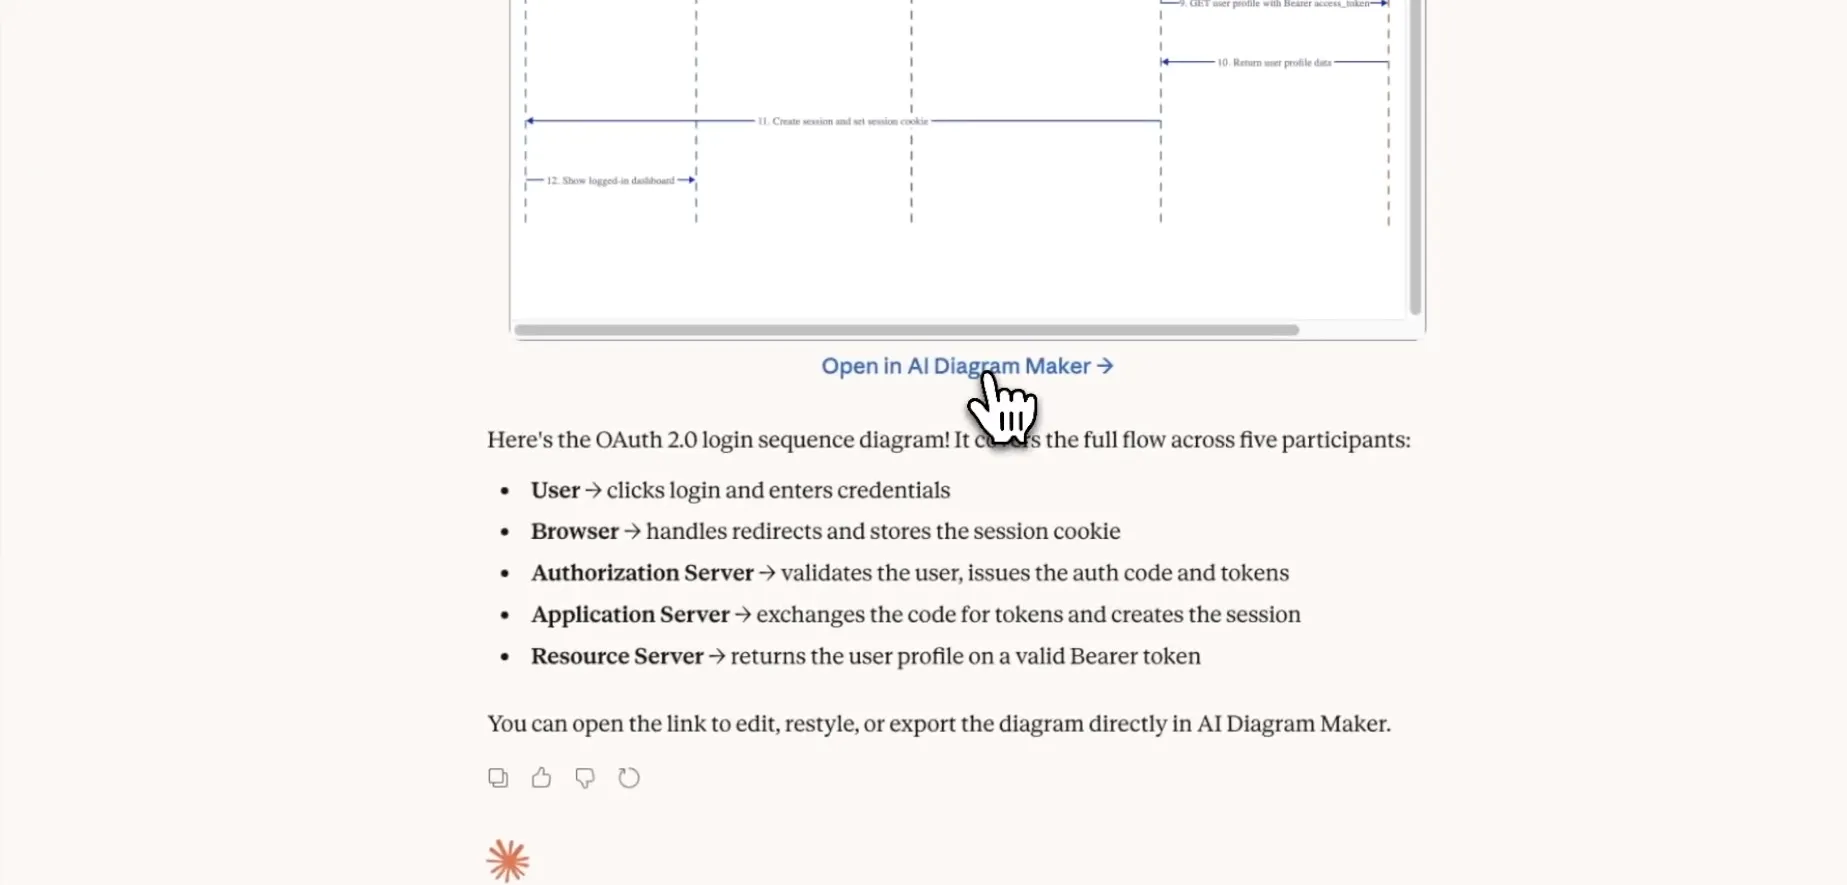
That is where you can make small presentation edits without starting over. For example, you can:
- change a shape
- swap an icon
- adjust labels
- improve spacing
- fine-tune the layout before sharing
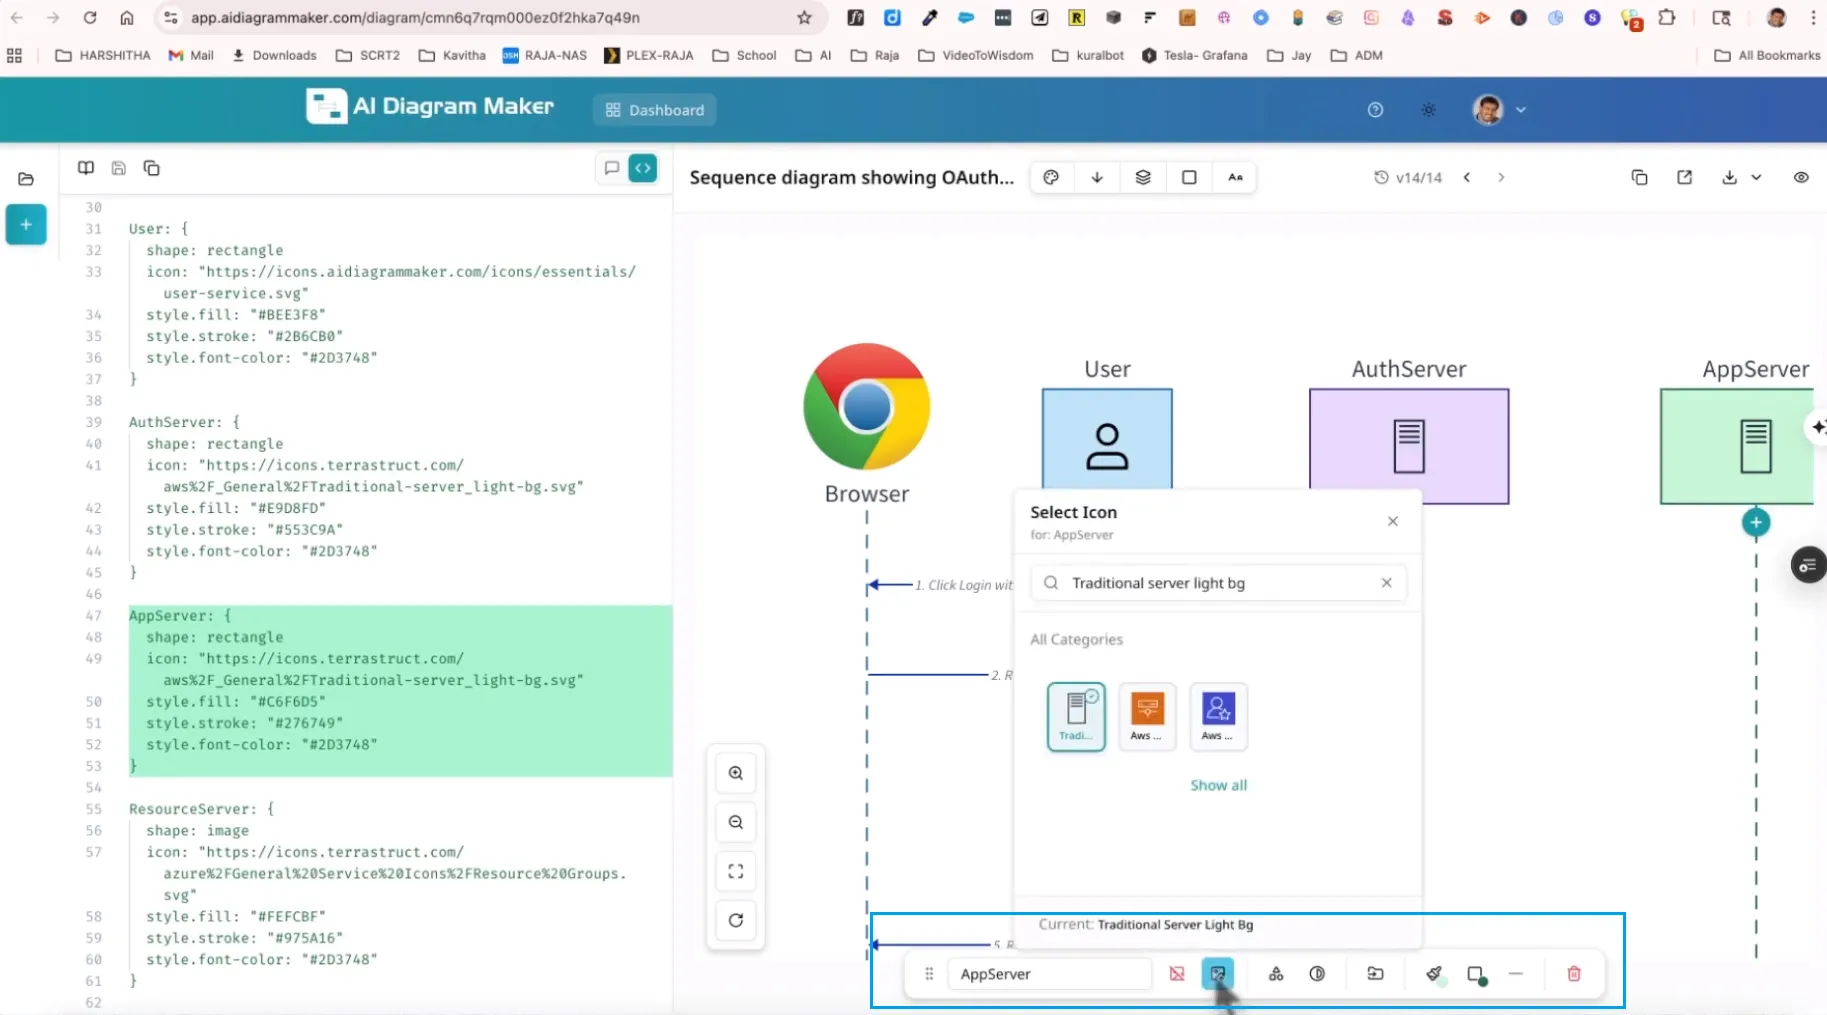
What I like here is the split of responsibilities. Claude is great for the fast first draft. AI Diagram Maker is where you handle the final 10% of polish.
Why This Claude Code Workflow Is So Useful
The biggest win is not just speed. It is that you keep your thinking in one place.
Instead of going from Claude to a separate diagram app and losing the thread, you move straight from idea to visual. That makes diagrams much easier to create when they are actually useful, not two hours later when the context is gone.
If you already like the idea of keeping diagrams closer to the development workflow, this pairs nicely with diagram as code.
Wrap up
That is the full step-by-step workflow:
- understand what MCP is doing
- create your API key
- connect
AI Diagram Makerto Claude - generate your first diagram
- open it in
AI Diagram Makerfor final edits
You do not need design skills, and you do not need to hand-place every box and arrow. Claude handles the prompt, AI Diagram Maker handles the diagram, and you stay focused on the idea you were trying to explain.
If you want to try it on your own project, start at AI Diagram Maker.